Game Servers for Blesta
Product information
Release v0.1.1 (Updated )
Reviews
0 von 5 Sternen
0 purchases
Sell Pelican and Pterodactyl game servers with Blesta, and let customers run them from the client area.
€39,99
Release historyDescription
Game Servers for Blesta creates, suspends, upgrades and deletes Pelican and Pterodactyl servers with the service, and gives your customers a full game server menu right in the Blesta client area.
The whole service lifecycle
- Activation creates the server: panel user found or created, node and ports chosen, server installed with the package's egg
- Suspend and unsuspend with the service, cancel deletes the server (optionally the panel user with its last server)
- Package changes and configurable options upgrade the server: new limits, more ports, even a different egg with reinstall
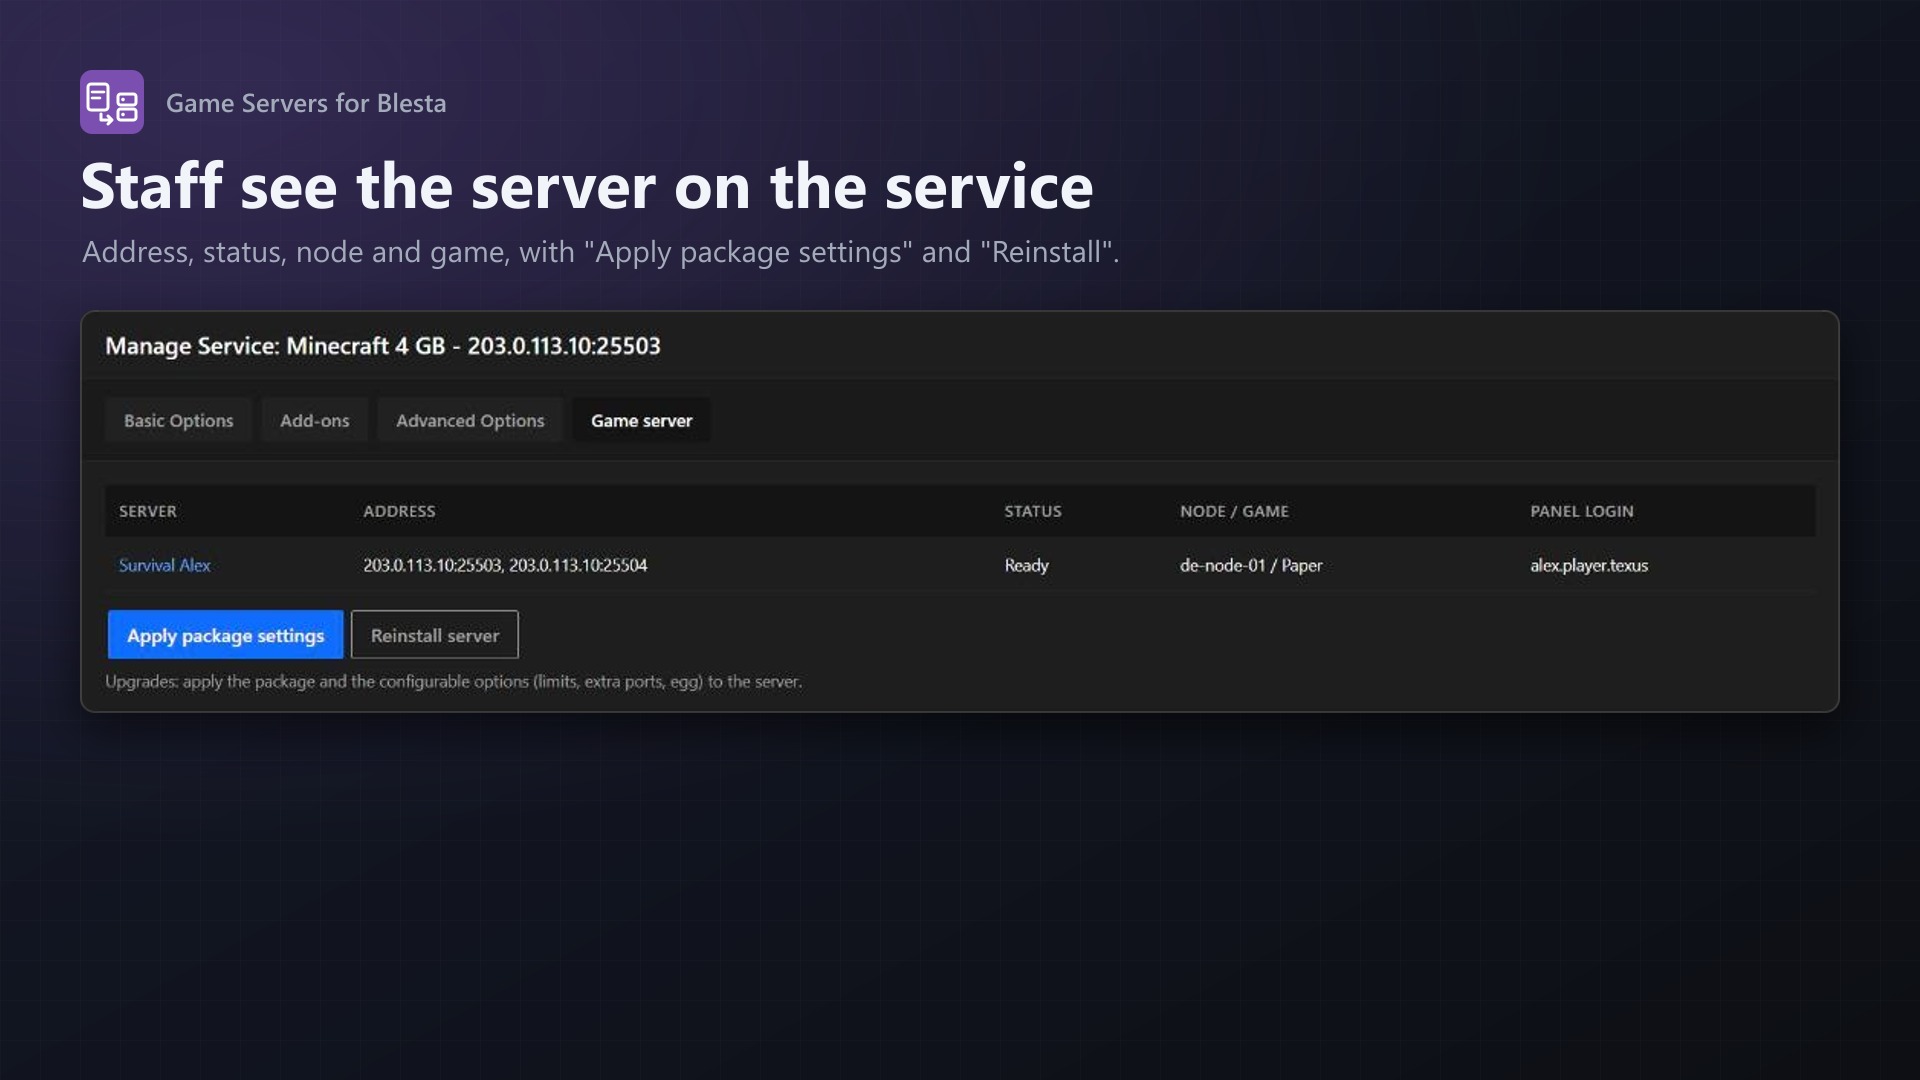
- Staff see the server on the service, with Apply package settings and Reinstall
A game server menu for your customers
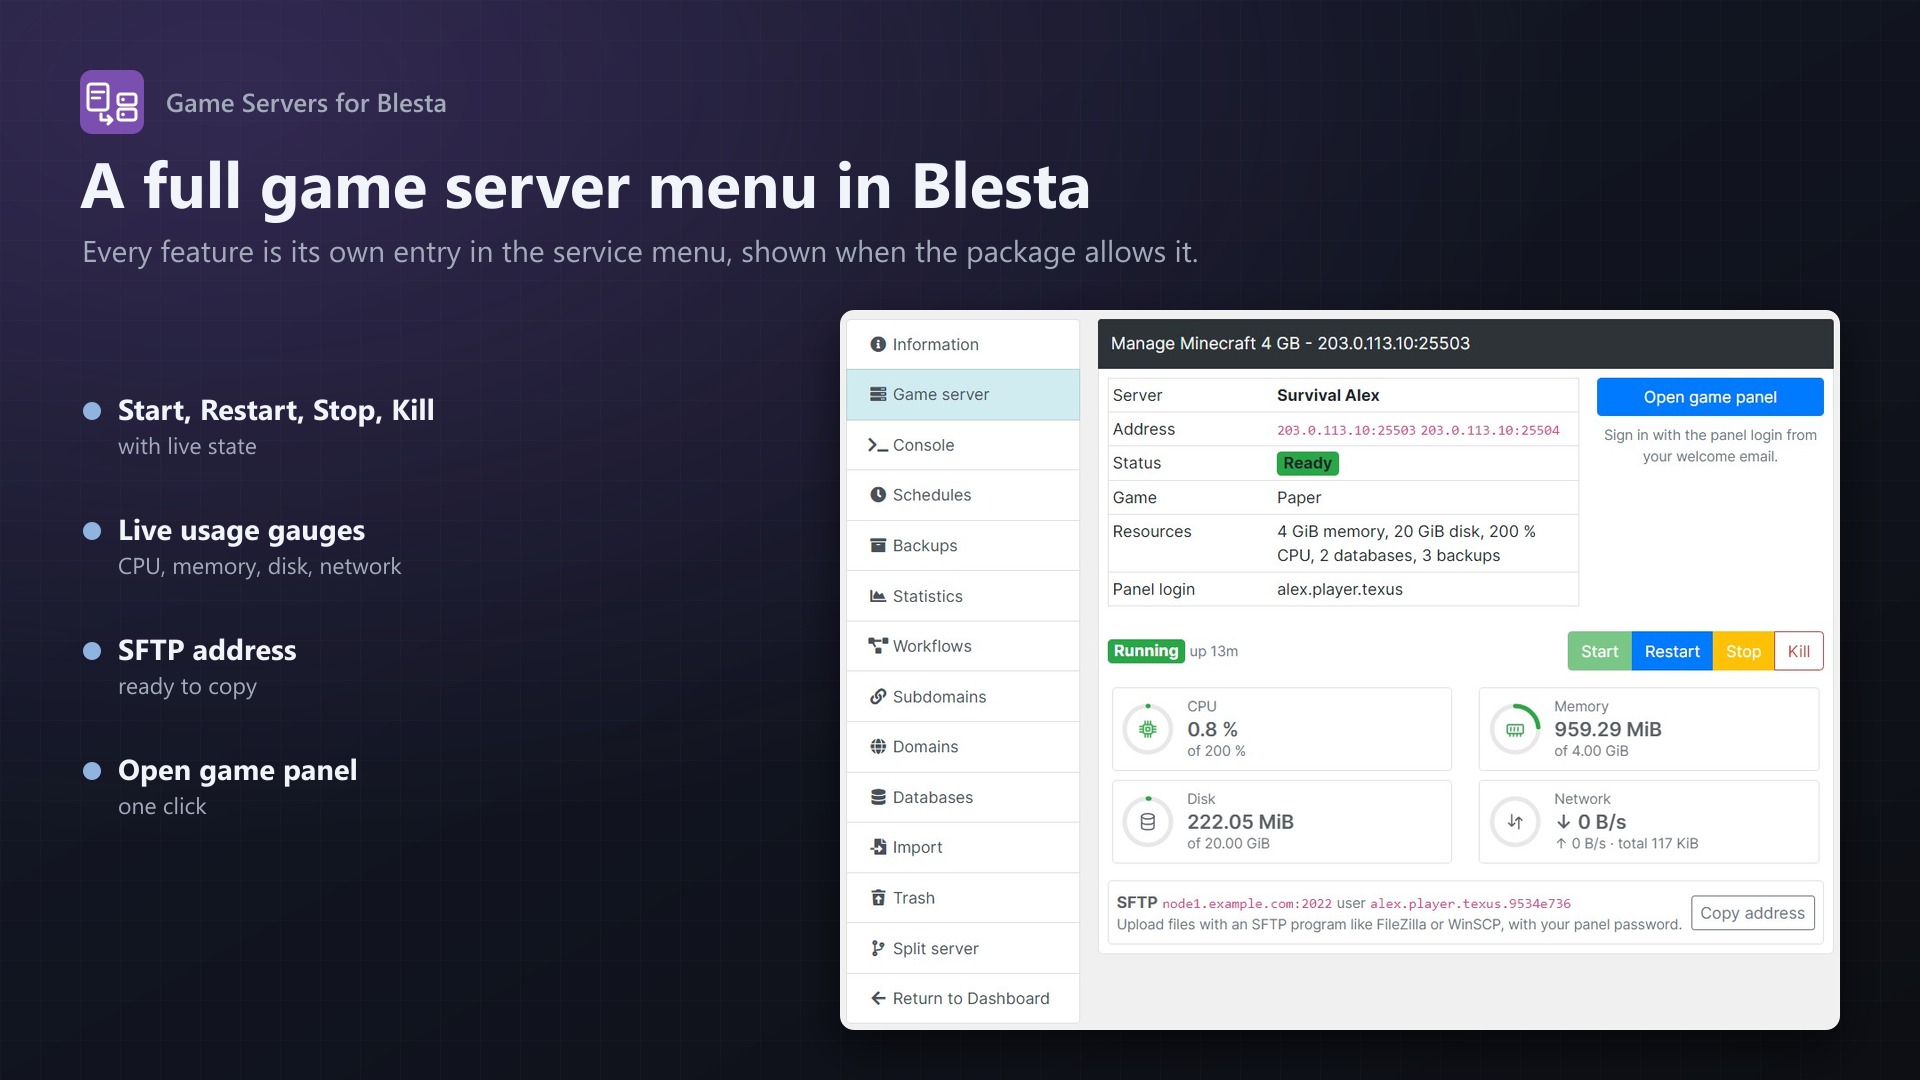
Every feature is its own entry in Blesta's service menu:
- Game server: address, status, game and resources, Start, Restart, Stop, Kill, live gauges for CPU, memory, disk and network, the SFTP address and an "Open game panel" button
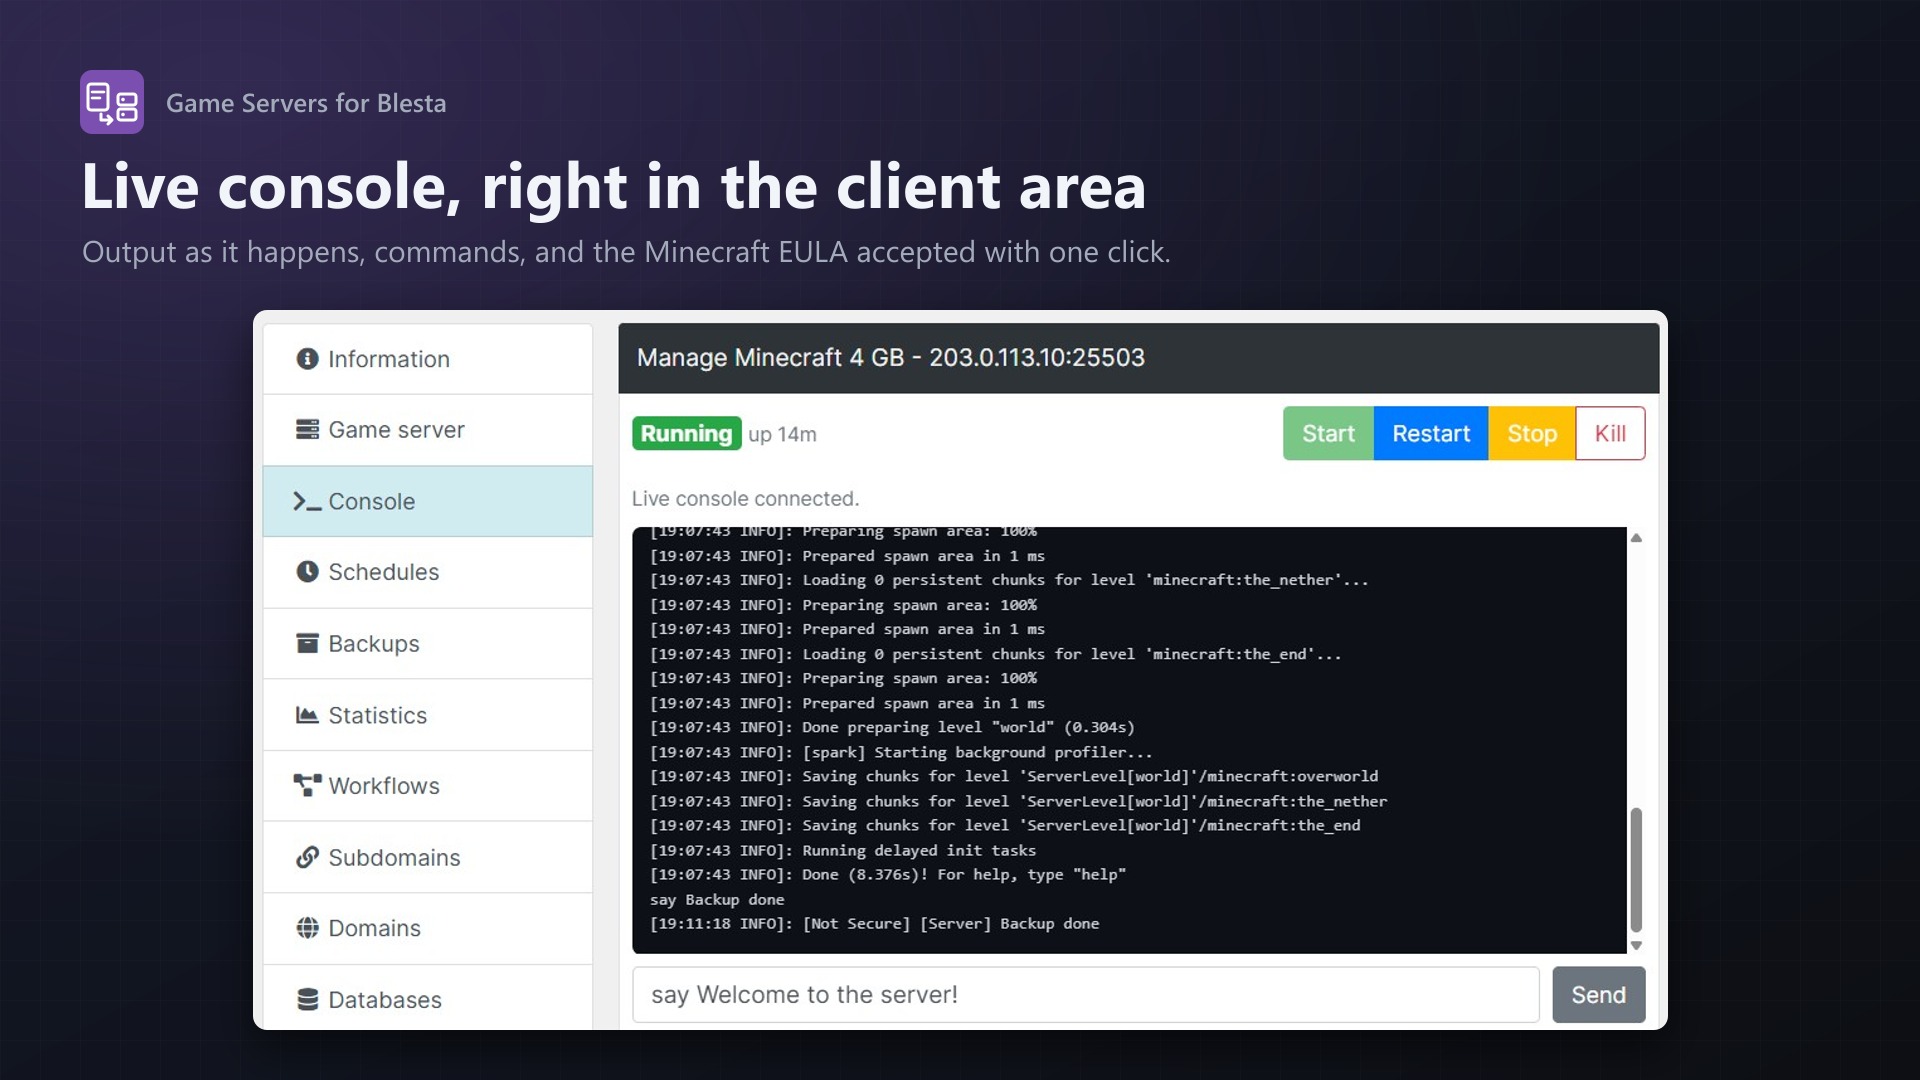
- Console: live output and commands in the client area; the Minecraft EULA accepted with one click
- Schedules with presets and tasks (command, power action, backup), run now, pause, edit
- Backups: create, download, lock and delete within the package's limit
Your texus extensions, built in
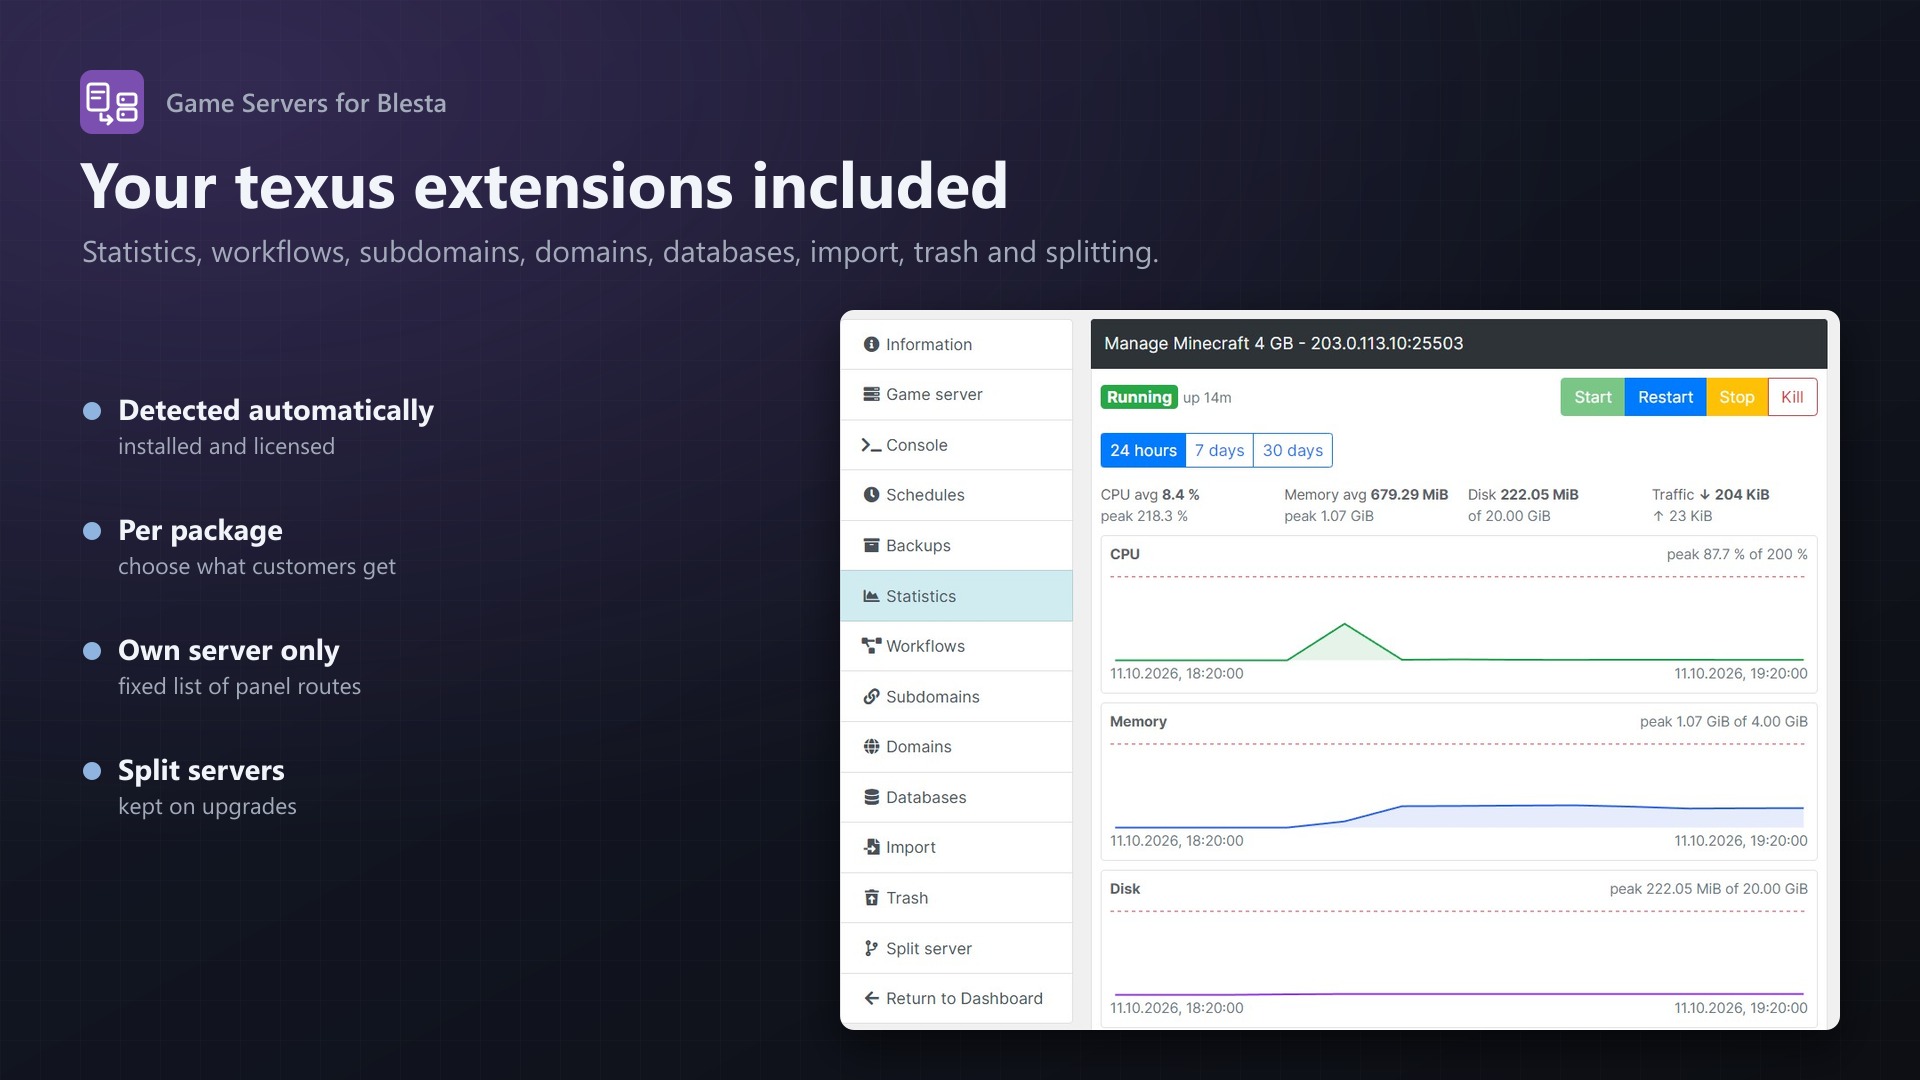
When your panel runs texus extensions, the matching entries appear by themselves:
- Statistics (Usage Statistics): CPU, memory, disk and network charts for 24 hours, 7 or 30 days
- Workflows (Schedules Plus): step by step automations with templates and run history
- Subdomains (Subdomain Manager): addresses like
survival.example.comwith SRV record - Domains (Custom Domains): the customer's own domain for a web app, with DNS check
- Databases (Database Manager): browse tables, search, run SQL
- Import (Server Importer): copy a server from another host over SFTP or FTP
- Trash (File Explorer): restore deleted files
- Split server (Server Splitter): split the package into several servers; resources given away stay with them on upgrades
- Idle Stop and SFTP Address on the overview
Per package, you choose which of these features customers get.
Pelican and Pterodactyl
- The panel type is detected from its API: Pelican Panel 1.0 and Pterodactyl Panel 1.x
- Pelican node tags or Pterodactyl locations pick region or hardware
- Port range, dedicated IP and extra ports on the same IP as the main port
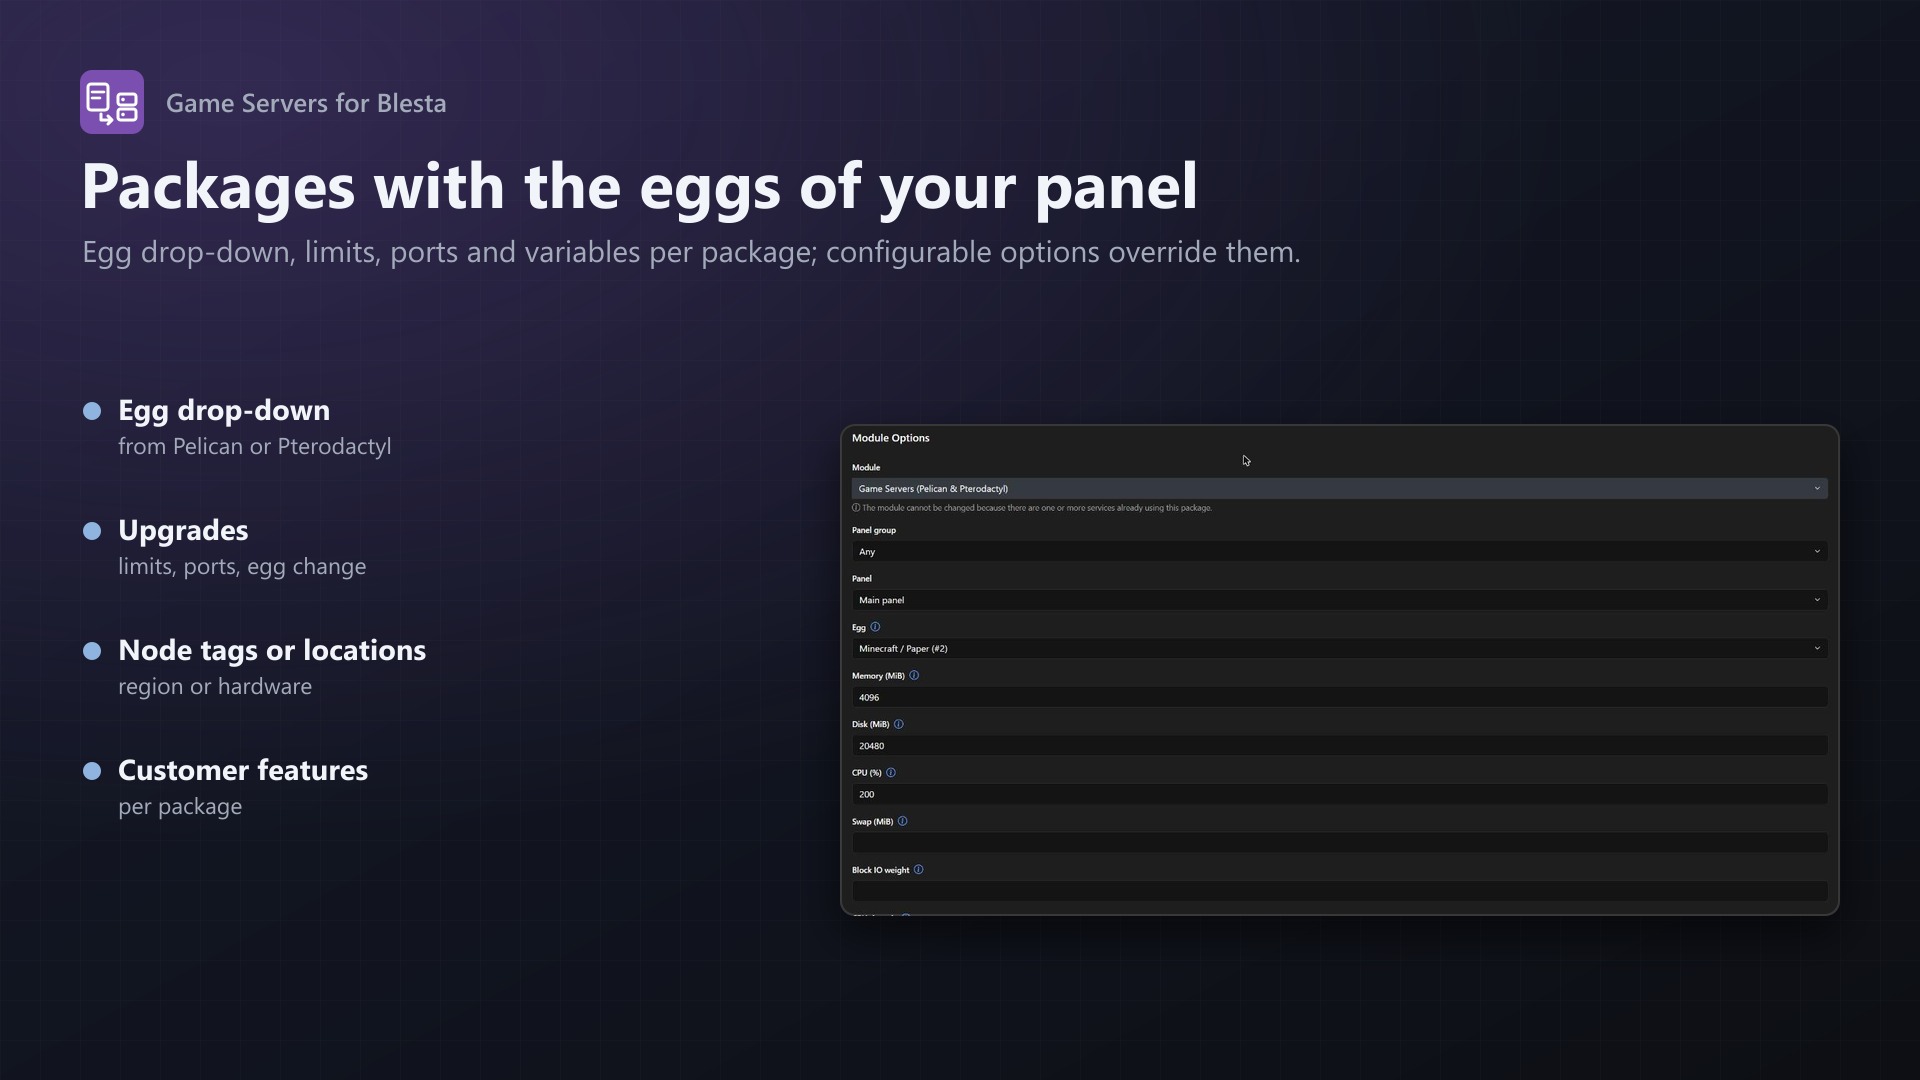
- Egg drop-down with the eggs of your panel, egg variables per package or configurable option
Built to be safe and reliable
- A customer only ever reaches their own server: every request goes through the module, which looks the server up by the service and passes on a fixed list of panel routes
- Servers and users carry external IDs, so Blesta always finds its server again
- Suspend, unsuspend and cancel keep working even without a valid licence
- Tested through a real Blesta 6.0.3 against Pterodactyl 1.15.1: service, install, suspend, upgrade with egg change, licence check, cancel, and every client area entry; the provisioning core is the same one tested against Pelican 1.0.0-rc.1 in our WHMCS and FOSSBilling modules
Licence
One purchase = one licence = one Blesta installation. The licence is bound to the address of your Blesta and the server it runs on. You can move it at any time on texus-addons.de.
After buying, sign in on texus-addons.de with your sourceXchange email address. Your licence key is created automatically; download the module there with the key built in, or enter the key on the module page.
Requirements
- Blesta 6 on PHP 8.1 or newer (curl and sodium)
- Pelican Panel 1.0 or Pterodactyl Panel 1.x with an application API key, plus a client API key of an admin account for the client area features
- For the live console: your Blesta address in
allowed_originsof the Wings configuration - Outgoing HTTPS from Blesta to the panel and to texus-addons.de
Installation
- Copy the folder
components/modules/texus_game_serversinto your Blesta folder - Install "Game Servers" under Settings > Company > Modules, enter the licence key and add your panel
- Create a package with the module and choose egg, limits and customer features
Support
The README in the download explains every option. Questions and bug reports through the support link.
Website: texus-addons.de – licence keys, downloads and your account
Support: Discord support server or support@texus-addons.de